Wheel alignment in final assembly revolutionized – thanks to InLine testing by Dürr
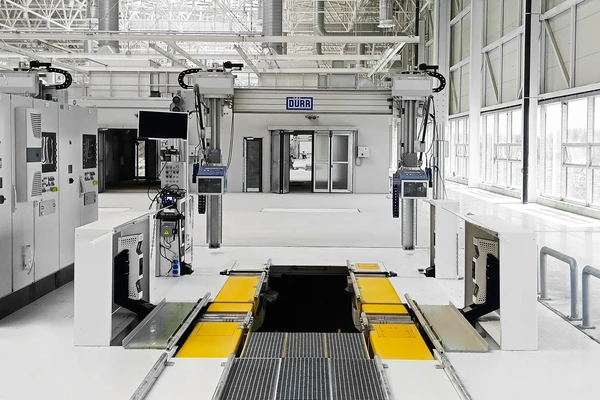
The innovative wheel alignment stand in the “x-wheel InLine” assembly line is ideal for measuring and setting the wheel base geometry. It is also a perfect alternative to conventional drive-through test stands at the end of line.
“x-wheel InLine” wheel alignment stand
InLine testing for fully automated and precise setting of the wheel base geometry using high-precision, non-contact measuring technology.
Straightforward wheel alignment
The InLine testing procedure Dürr developed for vehicle final assembly optimizes wheel alignment in the test process. With the wheel alignment stand in the assembly line, for example, the existing conveyor system transports the vehicles to the test stand.
High-precision 3D measuring sensors
The wheels are already mounted on the vehicle for the wheel measurement and act as the interface with the test stand. Lifting units position the floating plates, and downholders keep the vehicle at the correct height. 3D measuring sensors (x-3Dsurface) then measure the wheel base geometry at the vehicle’s tire.
InLine testing for efficient test processes
With the InLine testing procedure we developed, it is possible to measure and set headlamps and driver assistance systems in parallel with the measurement and setting processes using the 3D measuring sensors. Self-calibrating headlamps and driver assistance systems ensure the efficiency of this setting process in final assembly.


