Wheel alignment adjustment and measurement with the highest precision
Due to the modular system x-wheel, we are able to offer you an optimal solution for your requirements in wheel alignment.
x-wheel – Wheel alignment in perfect precision and reliability
With the wheel alignment stand x-wheel Dürr products offer a system, which allows highest precision in chassis measurement and wheel alignment.
Measurement systems

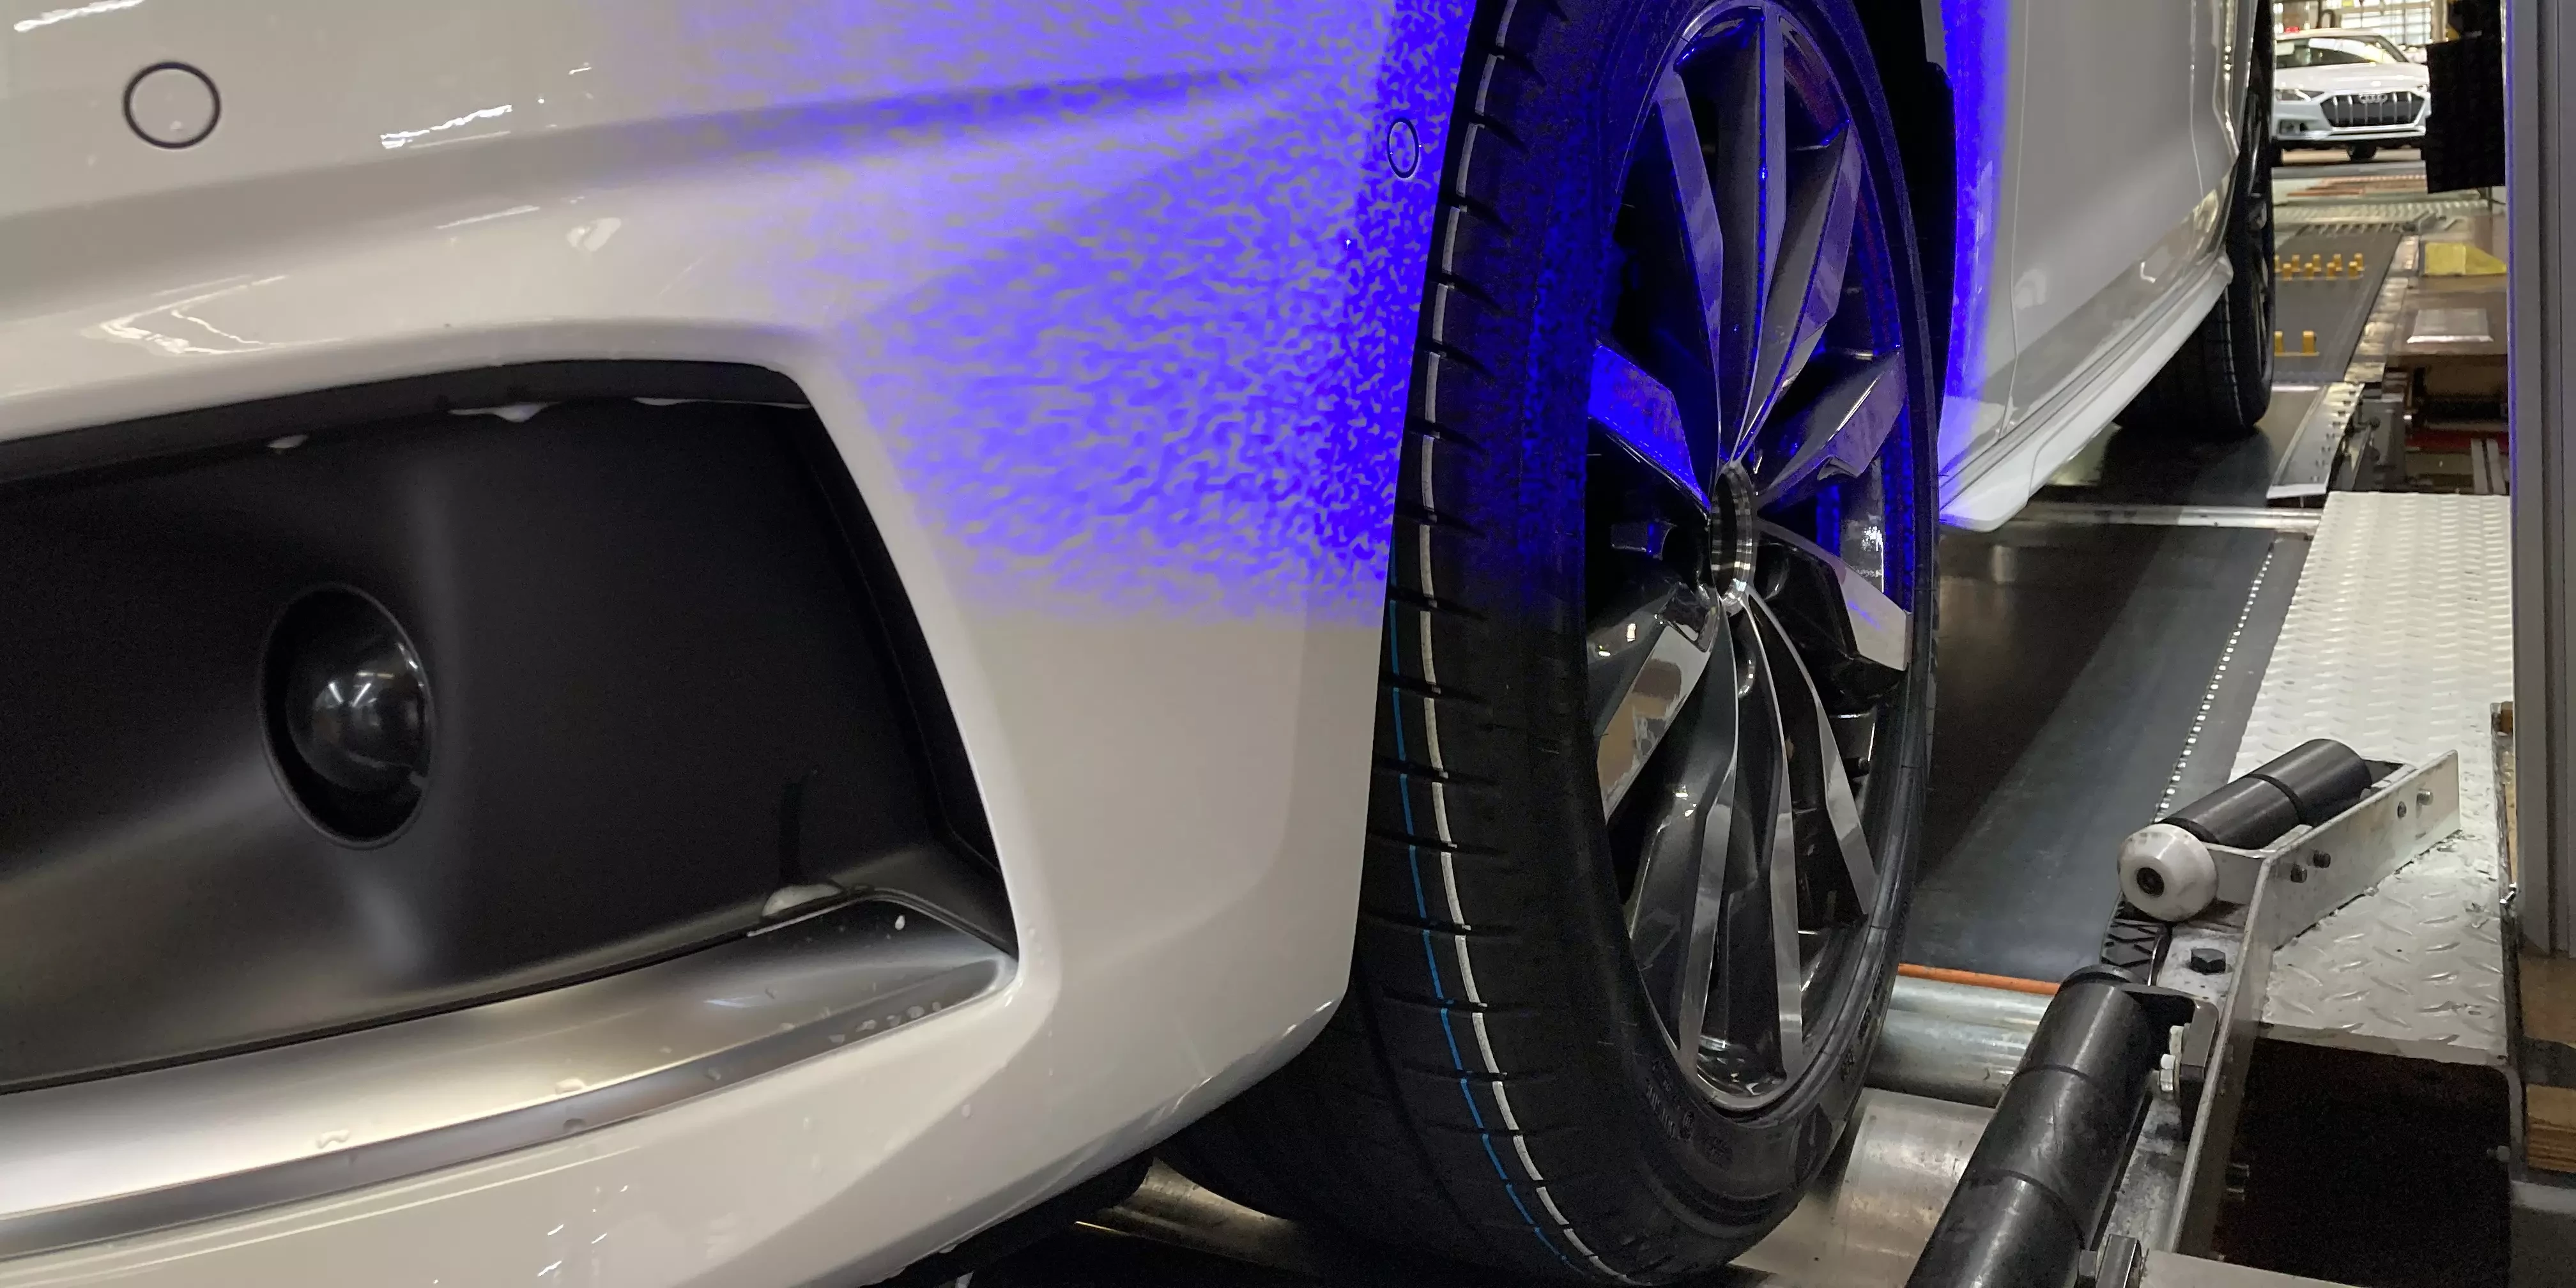
At the same time, both non-contact, three dimensional measurement systems x-3Dprofile and the new area-based system x-3Dsurface offer measuring technology with maximum accuracy and repeatability.
Steering wheel balancers

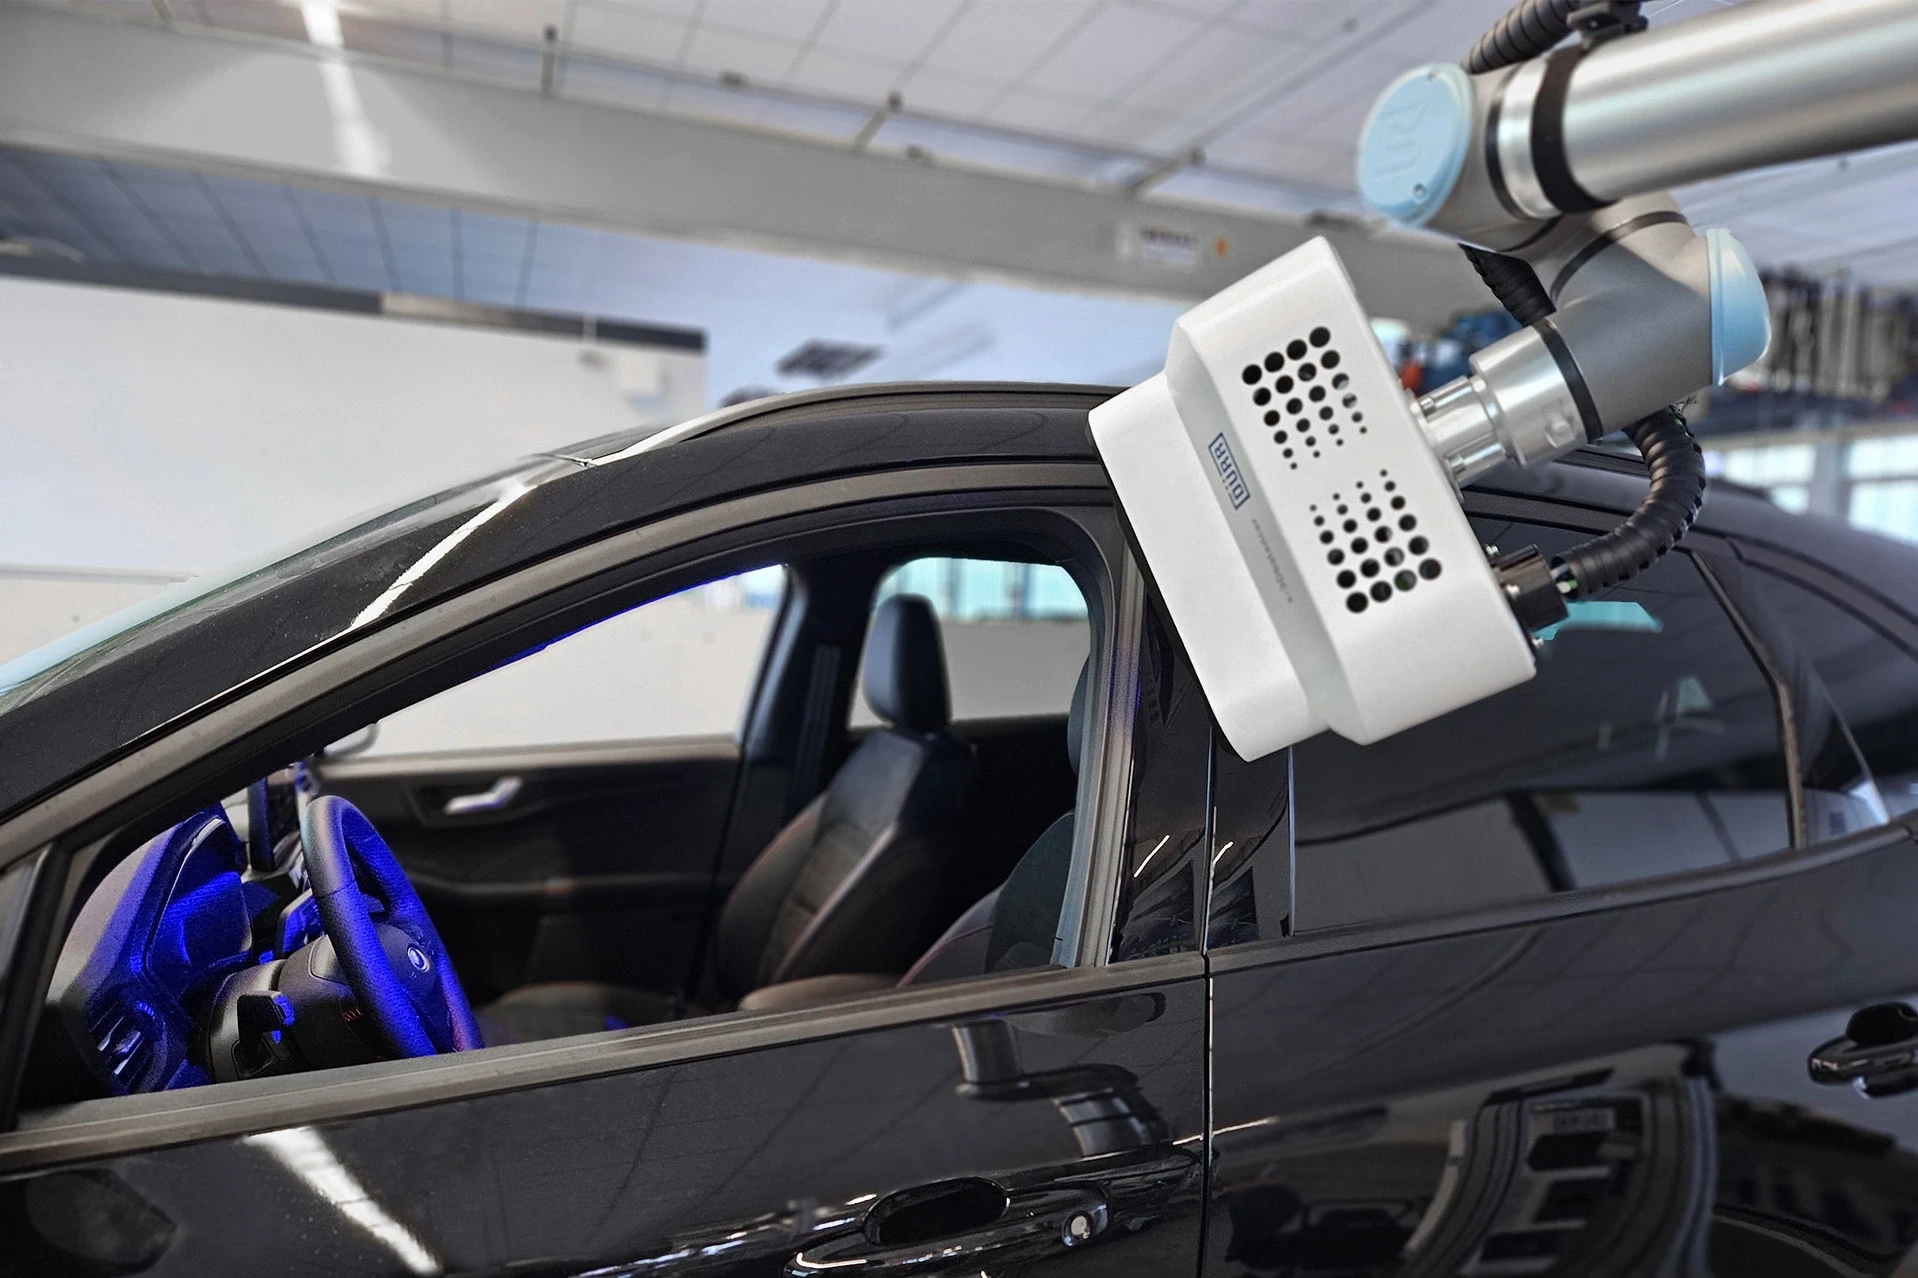
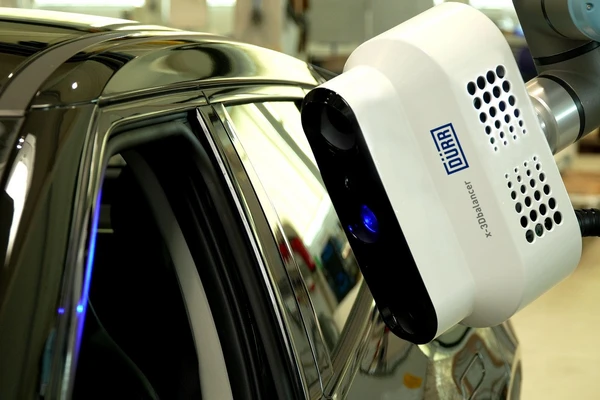
Our steering wheel balancer Smart Ergo Level and the new optical steering wheel balancer x-3Dbalancer ensure precise measurement of the steering wheel angle in this system.
See more in our x-3Dsurface video
x-wheel mainline for a solid basis
Due to the modular system x-wheel, we are able to offer you an optimal solution for your requirements. Our basis x-wheel mainline forms a solid basis that can be added to in order to integrate complex systems with fully of semiautomatic adjustment.
Chassis geometry measurement

In order to be able to provide optimal solutions for chassis geometry measurement in rework areas and special car production, we have extend our range of products with the x-wheel d. The test stand provides the same three-dimensional measuring technology as our x-wheel chassis alignment stand and is excellent value for money.
The automation and visualization of our products is carried out by the software x-line which has been developed by Dürr.
"Rolling Master" sets new standards

The rolling master is used to check the existing measurement process and ensure the repeatability of our wheel geometry test stand x-wheel.
In this way we can determine the process capability indices whilst checking the machine capability irrespective of the influencing factor of the car.
Furthermore, we are able to match several wheel geometry test stands with each other regarding measurement.
- Known features with regard to toe and camber values
- Different, but fixed toe and camber values for each tyre rim
- Fixed height measurement surfaces at the wheel arch
The rolling master is calibrated on a coordinate measuring machine and is supplied with a corresponding test certificate.


